Appointment Booking via Cal.com
Last updated: March 19, 2026
Here you will learn how to link fonio with your appointment booking via Cal.com.
In this article, you will learn step by step how to integrate Cal.com for appointment bookings in fonio. You will create an API key, retrieve the Event ID, enter both in fonio, and define whether your assistant is allowed to only display or also book appointments.
What You Need
How It Works
1. Create API Key in Cal.com
Open the settings in Cal.com and go to the API keys section. Create a new key and give it a recognizable name, for example, “fonio API Key.” Copy the key.
Important: Save the key in a secure place; it will only be shown once.
2. Find Event ID in Cal.com
First, you need to create a suitable event in Cal.com.
Important: Do not add any additional fields that must be filled out. Otherwise, calendar booking via fonio will not work.
Then open your event type in Cal.com that should be booked. Note the Event ID or the unique link to the event.
You can find the Event ID in the URL and copy it directly from there.
3. Open Fonio and activate appointment booking
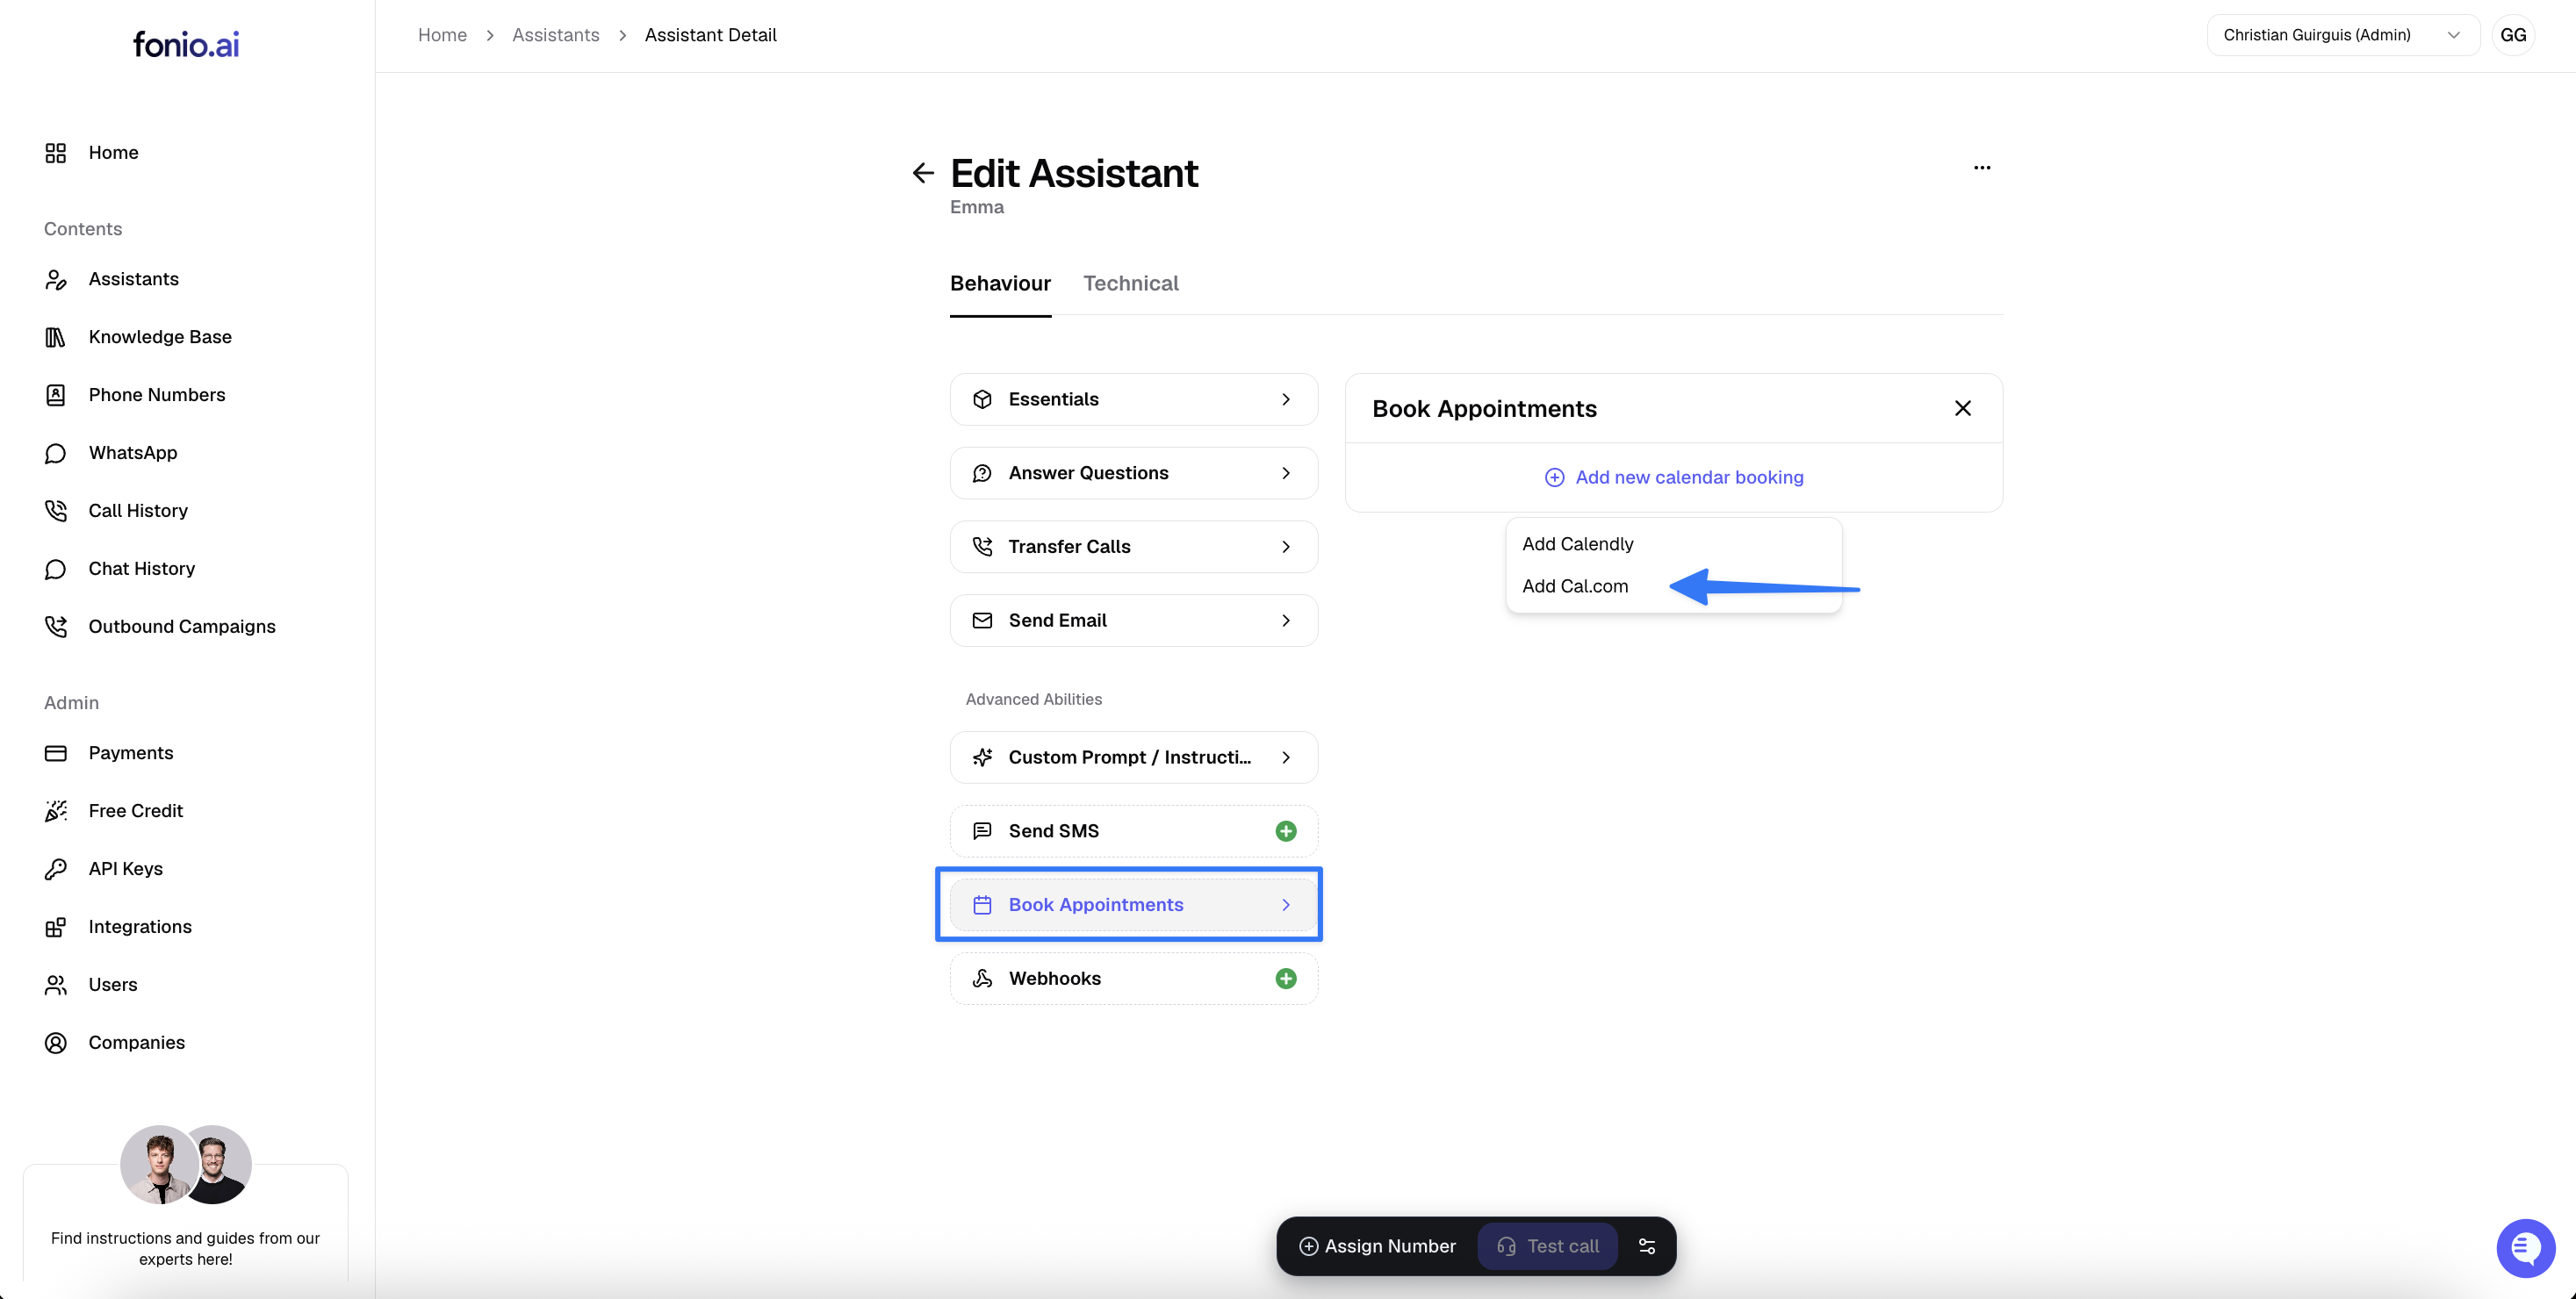
Open your assistant in fonio. Go to the Tools section and activate appointment booking.
4. Enter API Key and Event ID
Insert the Cal.com API key in the corresponding field.
Enter the Event ID.
Optionally, provide a description if you use multiple calendars so the assistant assigns the correct calendar.
5. Set permissions
Decide whether the AI is allowed to only view appointments or also book them. Choose the option that fits your process.
6. Select email or SMS confirmation
Now choose whether the caller should receive confirmation by email or SMS.
If you select email, the caller must provide their email address during the call.
We generally recommend confirmation via SMS, as the incoming number is automatically known.
7. Save and test
Save the settings. Start an audio test in your assistant and check the appointment booking with a test case.
If you have multiple event types, create a separate configuration for each type or specify in the prompt which type of appointment should be booked.
Best Practices from the Transcript
Use a clear name for the API key to keep track in Cal.com.
Set a description in fonio if you use multiple calendars or teams to keep assignments clear.
Perform an audio test immediately after saving to quickly validate flows.
Troubleshooting
Booking does not work
Check if the API key is valid and if the Event ID belongs to the correct event type.
Stelle sicher, dass in Cal.com beim Event Typ eine Mindestvorlaufzeit (z.B. 15 Minuten) korrekt eingestellt ist. Fehlt diese Angabe oder ist sie zu lang, kann die Buchung mit einem 502-Fehler fehlschlagen.
Make sure the assistant has the booking permission.
Ensure that no additional fields are created for the appointment in Cal.com.
No available slots
Make sure there are available times in the selected event type.
Multiple appointment types available
Create a separate configuration for each event type or define in the prompt which type of appointment should be booked.
Summary
Create API key and note Event ID in Cal.com
Activate appointment booking in fonio, enter API key and Event ID
Choose permissions and perform audio test
Extend prompt with clear booking conditions
For questions or support, our team is available at support@fonio.ai.